History of Origami
Origami is an ancient art that people have perfecting for centuries. It first came into being in China and since then, it has become a global phenomena.
There is still a bit of controversy to the exact origin of the art however, people still argue that it may have begun right after the creation of paper but no one knows for sure.
What we do know however is that Origami is a fun way to make good use of your hands and your artistic talent.
We’ve started a fun series to assist you through your origami adventure. And now we’ve reached another milestone in our journey.
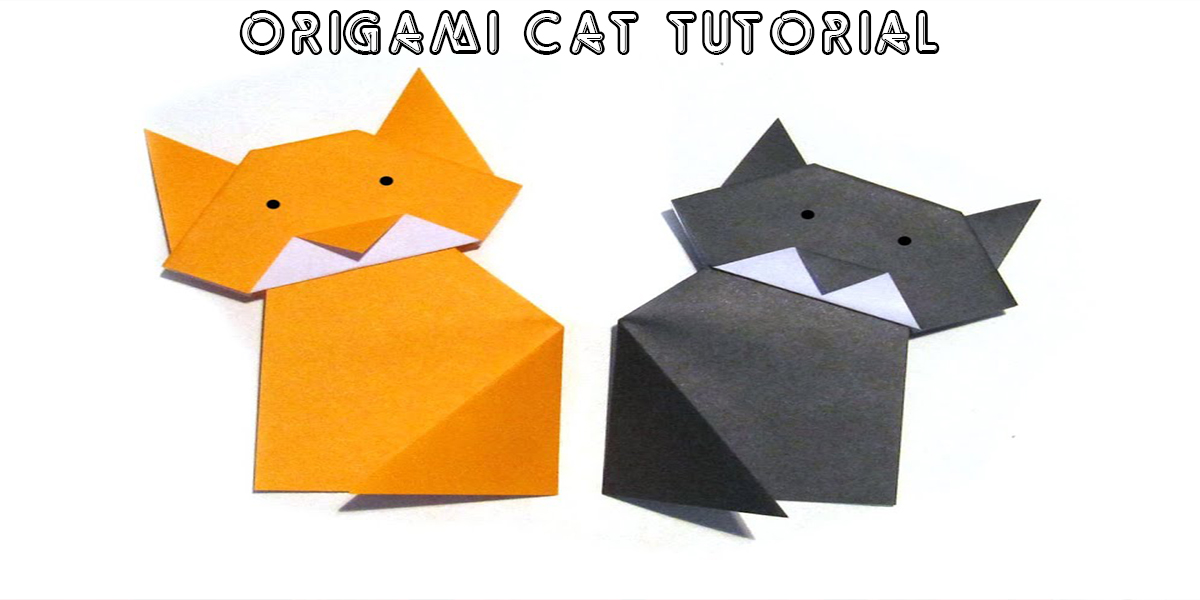
It’s time you learned how to make the origami cat!
Let us if this works for you in the comments.
Origami Cat Step by Step Instructions
Follow the pictures step by step.
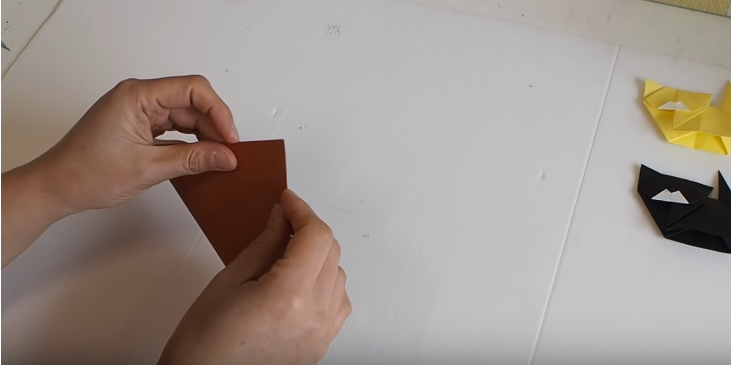
- Step 1: Get yourself a square paper to begin with, it would be helpful if it was double coloured front and back.
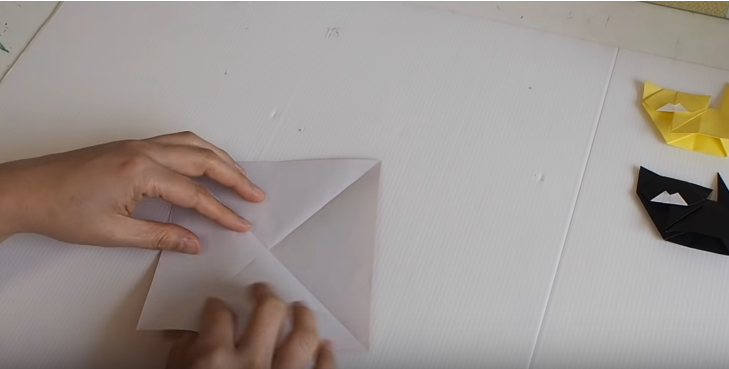
- Step 2: Fold the paper diagonally until you have two lines running between each other on your paper when you open it up again.
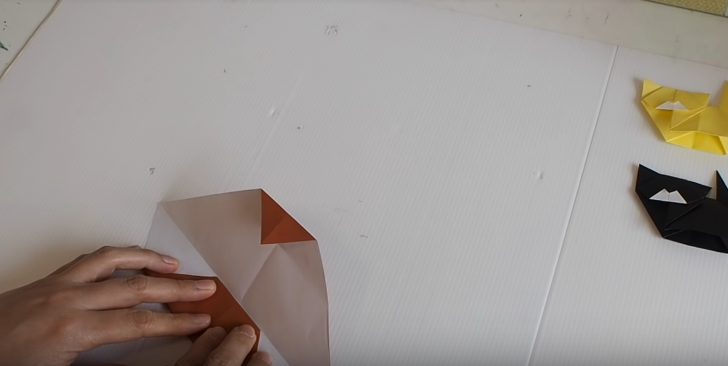
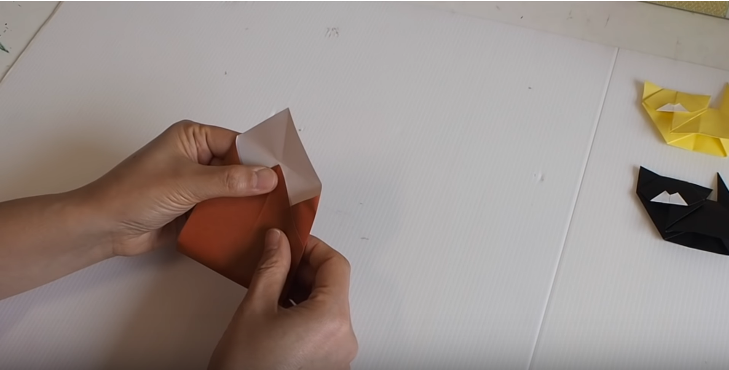
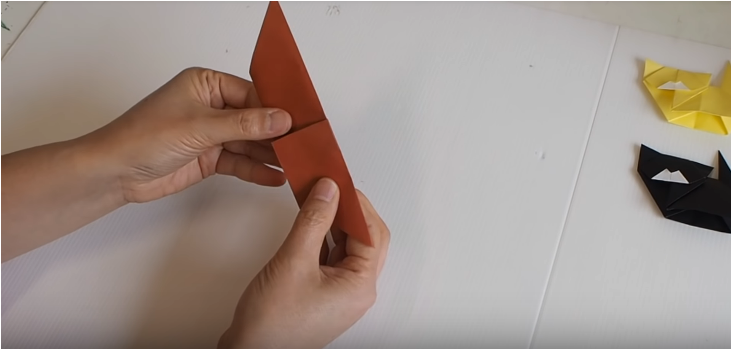
- Step 3: Now fold a corner into the paper, then gently make a smaller cone as shown in the photograph. Repeat this on two opposite sides. Fold both ends in again until they start looking like the picture.
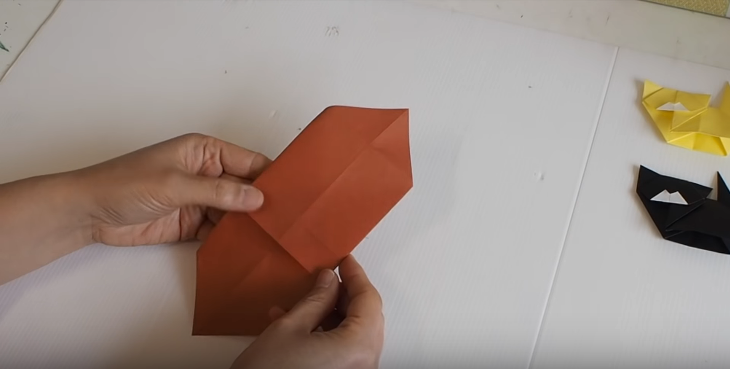
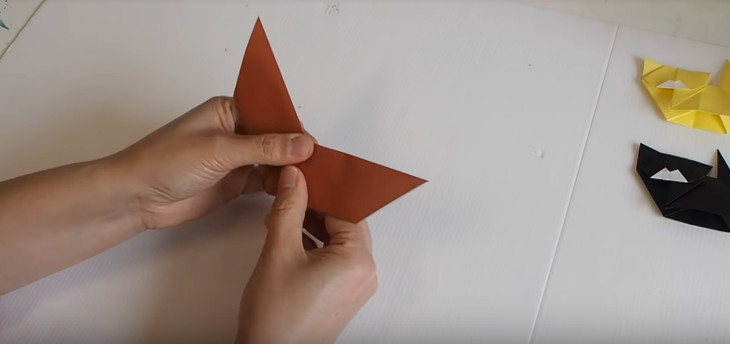
- Step 4: Now fold one end of your paper in. Flip it over and it’ll start to look like this. Now fold it in backwards as it was shown in the picture.
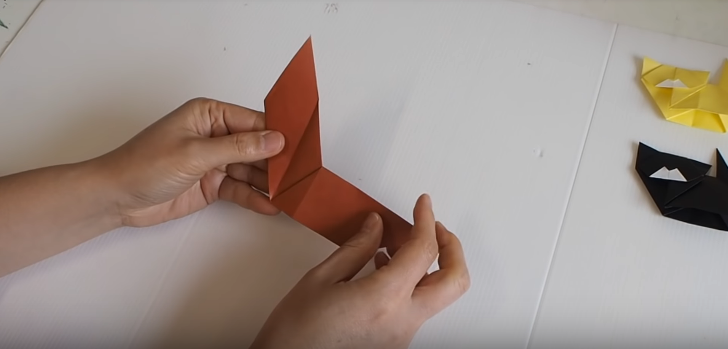
- Step 5: When your paper starts to look like this fold it vertically so it may start to look like the picture. Now fold it ever so slightly from the centre so it may start to look like two ears (even though they aren’t ears yet.) The paper will start to look like this when you let it go.
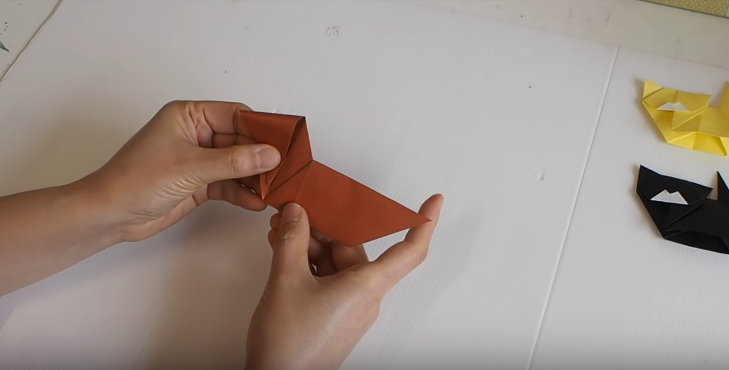
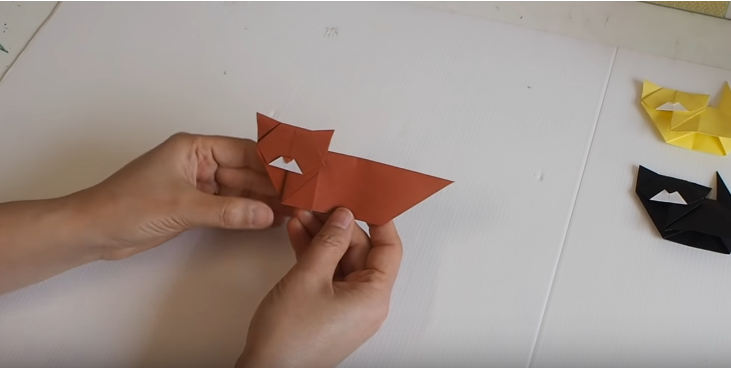
- Step 6: Fold one end in and then open it up from the middle so it starts to appear as so. Fold both ends of the face like portion and you’ll get something that looks like actual tiny ears. Fold the extra bit in and so that the cat’s face has nothing protruding out of it.
- Step 7: Make a nose out of the paper when you flip it over.
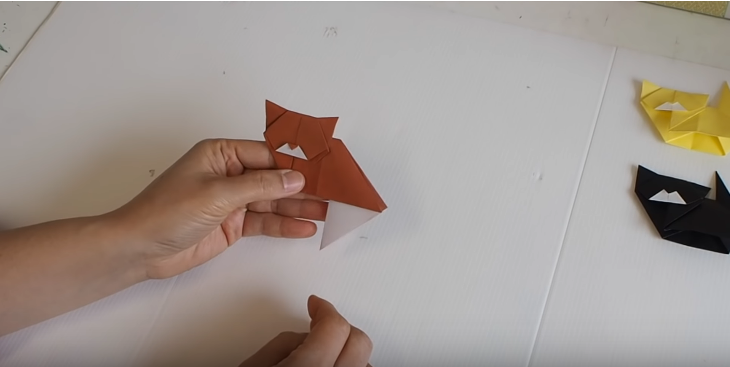
- Step 8: Fold the tail like piece inward and so that it has a white flap coming out of it from the bottom end. Fold it gently in and then pull it up as shown in the photograph.
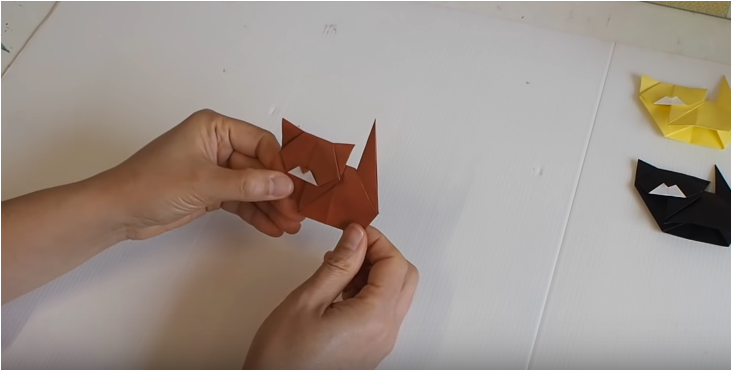
- Step 9: Your cute origami cat is ready!
Pictorial Steps:
Step 1: Get yourself a square paper to begin with, it would be helpful if it was double colored front and back.
Step 1:
Step 2: Fold the paper diagonally until you have two lines running between each other on your paper when you open it up again.
Step 2:
Step 3: Now fold a corner into the paper, then gently make a smaller cone as shown in the photograph. Repeat this on two opposite sides. Fold both ends in again until they start looking like the picture.
Step 3:
Step 4: Now fold one end of your paper in. Flip it over and it'll start to look like this. Now fold it in backwards as it was shown in the picture.
Step 4:
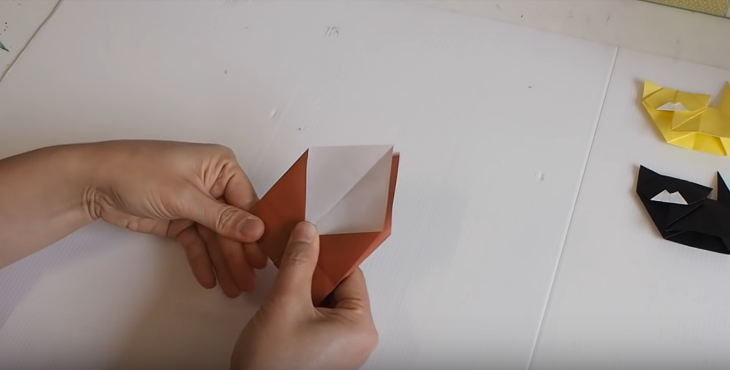
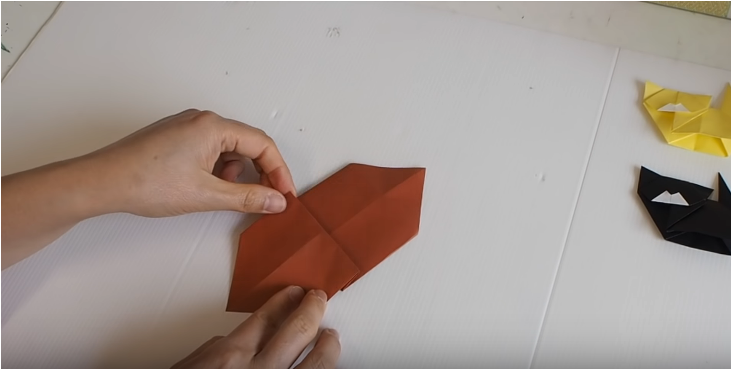
Step 5: When your paper starts to look like this fold it vertically so it may start to look like the picture. Now fold it ever so slightly from the center so it may start to look like two ears (even though they aren't ears yet.) The paper will start to look like this when you let it go.
Step 5:
Step 6: Fold one end in and then open it up from the middle so it starts to appear as so. Fold both ends of the face like portion and you'll get something that looks like actual tiny ears. Fold the extra bit in and so that the cats face has nothing protruding out of it.
Step 6:


Step 7: Make a nose out of the paper when you flip it over.
Step 7:
Step 8: Fold the tail like piece inward and so that it has a white flap coming out of it from the bottom end. Fold it gently in and then pull it up as shown in the photograph.
Step 8:

Step 9: Your cute origami Cat is ready!
Step 9:
Still Confused? Check out the video!
Conclusion
This is a perfect origami cat for those of you who are looking for an origami sitting cat. However, we will do some more tutorials for origami cat face and other requests you may have. We now hope you won’t be asking yourself “How to make an origami cat” anymore!
We hope you have a fun time trying this new origami animal out!
We hope you have a fun time trying this new origami animal out!